Now’s the time to be making the garden gorgeous but it’s not possible to get all the plants and things that we need. Have you ever tried making your own hanging basket? I’ve tried rejuvenating previous years’ ones by tucking in new plants and trimming away old ones, but usually resort to buying new professionally made ones as mine just end up looking, well, straggly.
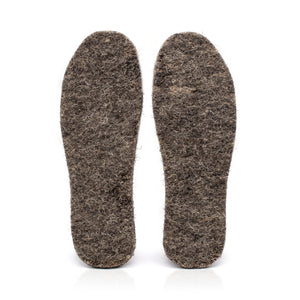
Now that we can’t necessarily get to the shops to buy them, it’s time to dig out the old basket frames that having been piling up in the shed and give it a go. We’ve just added basket liners to our range. These are made of the same material as our mulch mats. It’s 5mm thick felted jute, made from recycled coffee sacks. These are completely natural and biodegradable, but very durable and will last a couple of years before they degrade.
Step 1: get the correct sized liner for your basket. The liners are sold according to the diameter of the basket. So for example, a 14” liner is for a basket 14” in diameter. The actual liner itself is 22”. It’s all explained in the product listing.
Step 2: place the inner in the basket and fill it with compost and water retention pellets if you’re using them. Please try to avoid compost with peat in it. If it doesn’t say “Peat Free Compost” it’s probably got a percentage of peat in it. I totally recommend the Dalefoot Composts sheep wool compost as it’s the best peat alternative I’ve been able to find. I wish we could sell it by mail order but that’s just not practical. We’ve got Kokoblock peat free blocks that are pretty good. We also have the brilliant organic sheep wool pellets, made of a mix of sheep wool and muck. These absorb water and slowly biodegrade, releasing valuable nutrients into your hanging basket or planter. Mix these with the compost and fill the basket to just below the top.
Step 3: now for the fun bit! Get it planted up. There are no hard and fast rules when it comes to hanging baskets, it depends very much on your own taste and what’s available. If you’re having to make do with what you’ve got to hand then you’re going to have to be a bit more creative anyway. A general *guidance* is to have an upright plant in the centre. Then depending on the size of the basket, a certain number of smaller flowering plants around this. So a 14” basket would have about 5 or 6, and increasingly more as the basket gets bigger. Then choose some trailing plants to go around the perimeter. You can cut holes in the liner and poke plants into the side if you want to, but once the trailing plants get going they will dangle round the sides and cover the sides nicely.
Step 4: water everything well and leave in a warm, light place for the plants to grow into the basket and get the roots established for a bit before hanging it out.
Tips – if you haven’t got traditional hanging basket plants to hand, go a bit off-piste and get creative with what you’ve got. How about using trailing tomatoes instead of lobelia? Or a bit of ivy – these root really easily so pull a section off where it’s growing and push it into place. Try poking in cuttings from rosemary or lavender that self-root easily. If you’re thinning out certain plants, see if you can propagate them to use in your hanging basket. You could try scattering in some bee and butterfly friendly seeds to make it more attractive to visiting pollinators.

